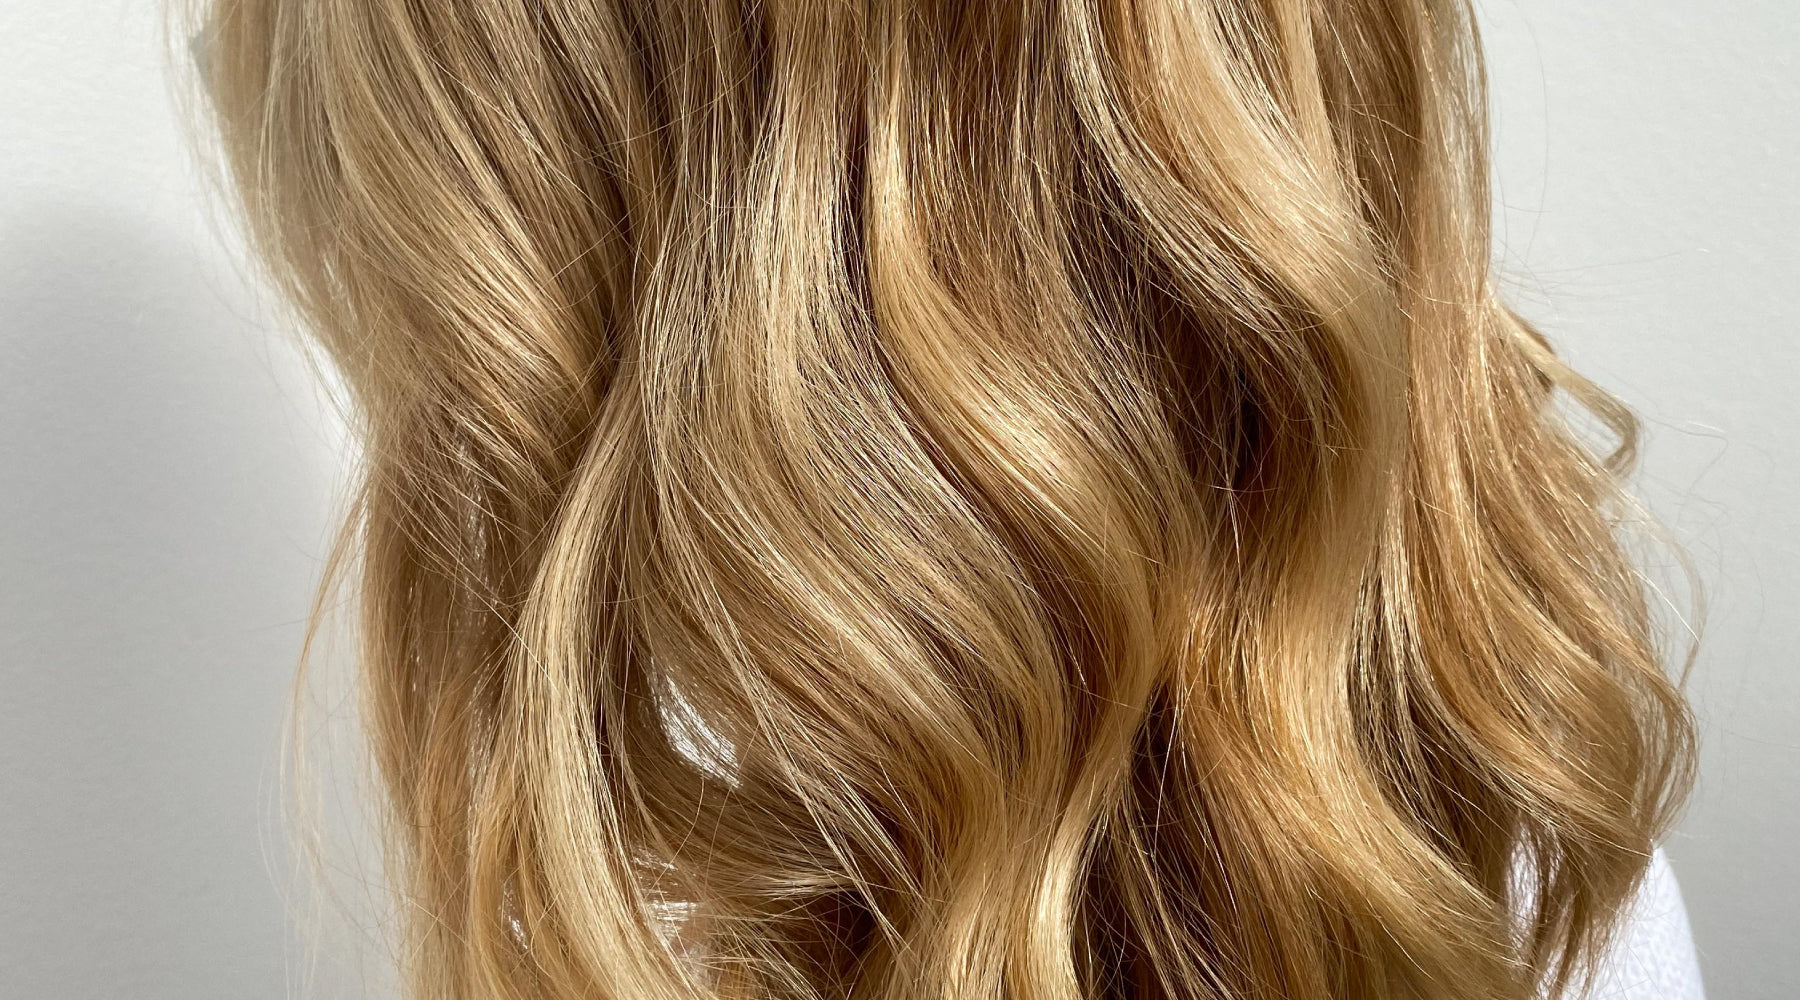
It's finally happened. After years of spending countless hours in the salon chair and shelling out a small fortune, you've taken the plunge to take control of your Blonde Hair. Whatever led you to this decision, we're thrilled to have you here.
Now, you might be wondering, 'What's the next step?’
That's a fantastic question! Brace yourself because you're about to add another impressive skill to your already impressive repertoire – becoming a home Colourist. Your Hair is about to reap the benefits of at-home Colouring, and we're here to guide you every step of the way. Our comprehensive step-by-step guide is tailor-made for newcomers to the world of DIY Blonde Colouring. It'll show you not only how to Colour your Hair but also provide valuable insights on maintaining your Blonde locks and extending the time between those salon visits.
The Basics
A successful Blonde result depends on two parts — your Hair Colour and Developer. Your Hair Colour determines your Colour hue, your Developer determines your Hair Colours lightness. We will show you how to choose both.
Step 1: Choose your Blonde Shade
Our Blonde Range is made up of 4 types of Blondes, each with distinct personalities ranging from Dark to Extra Light. Find the Blonde Shade that best matches your Hair Colour.
Natural Blondes are pure Blonde Hair Colours with no added reflect that range from Dark to Very Light.
Cool Blondes include Ash, Beige or Silver Shades with varying Cooling strengths. Ash Blondes have a smokey appearance, Beige Blondes are much creamier while Silver Blondes have a crisp, diamond shine. Cool Blondes are suited to anyone who struggles with Warmth or like their Blondes with a Cool reflect.
Warm Blondes include Golden, Copper or Chocolate Shades. Golden Blondes have soft, sun-kissed glowing hues, Coppers Golden Red tones pile on the vibrancy while Chocolate Blondes bronzed reflects promote volume. Warm Blondes bring light into your Hair, brightening your Colour with a flood of Warming hues, adding vibrancy to your Hair and skin tone.
Highlift Blondes are bleach-free, Platinum Blonde Shades with superior lightning abilities and in-built Cooling pigments to protect and tone Hair.
To find your perfect shade, view our full Blondes Range.
Step 2: Choose your Developer
Your Developer is the hairvy lifter that determines the Lightness of your Blonde. Your Developer choice is based on two factors:
Your Natural Hair Colour.
The Hair Colour you want to be.
To establish which Developer will be strong enough to Lighten you Hair, follow this formula:
The Number of your Goal Hair Colour
(minus)
The Number of your Natural Hair Colour
(equals)
How many shades you will need to Lighten to achieve your desired Hair Colour.
Your answer will match to a Developer.

20 Volume Developer lightens 2 Shades
30 Volume Developer lightens 3 Shades
40 Volume Developer lightens 4 Shades
Let me show you a few examples:

Your Natural Hair Colour is 6 Dark Blonde
Your Goal Colour is 10.2 Very Light Beige Blonde
You will need a 40 Volume Developer to lighten your Hair 4 shades.

Your Natural Hair Colour is 5 Light Brown
Your Goal Colour is 8 Light Blonde
You will need a 30 Volume Developer to lighten your Hair 3 shades.
Developer Tips: If you have more than 50% Grey Hair, a 20 Volume Developer will give you the best Grey coverage.
Step 3: Application
When you are matching your Blonde to your current Hair Colour, just focus your Colour Application on your Regrowth area. When you are using a strong Lightening mixture, make sure to keep your Colour mixture to your Regrowth Hair and avoid your already Lightened Hair, don't over lap your new and old Hair Colour.
When doing a Regrowth Touch Up, apply your Colour mixture to your Regrowth only, attempting to minimise overlapping over your Coloured ends. This is very important, to help prevent Colour Banding, Colour Build Up or Hot Roots.
The Gloss Over Technique
Once you have touched up your Regrowth and your Colour is processing, use the Gloss Over technique during the final 20 minutes of your Colours development time. Create a fresh Colour mixture, using the same Colour you have used on your Regrowth mixed with a No Lift Developer, and apply it to the ends of your Hair, ensuring they are completely covered. Use your Wide Tooth Comb and gently comb from your Regrowth to your ends to beautiful blend your Hair Colour. Wash out once you have reached your Colours development time.

Wide Tooth
Comb
Step 4: Maintenance
Blonde users regularly struggle with the nasty brassies, an unwelcome sight usually caused by the sun, salt, chlorine or styling products. To combat Warmth in your Blonde with a Toner Kit that uses a Cool Colour pigment to soothe Brassiness. Unlike traditional flat, matte purple shampoos, our Toner Kits offer a remarkable advantage. They not only keep your Hair Colour Toned for an extended period but also replenish the glossy shine that you adore in your Blonde Hair.
Choose the Toner Kit that perfectly suits your Blonde needs:
The Light Ash Toner Kit: Our most intense tone, suitable for all Hair Colour types.
The Pearl Blonde Toner Kit: A softer tone, cooling your Hair with creamy Beige pigments—ideal when you don't require intense cooling results.
The Dark Ash Toner Kit: Tailored for Dark Blonde and Brunette Shades, it provides powerful cooling effects.
Each Blonde responds to Toning differently, some Hair Colours take 5 minutes others need the maximum time of 20 minutes. Most importantly keep a close eye on your Hair while it is Toning, washing your Hair as soon as it has reached your desired tone.
For more control over your Tone you can adjust your reflect, switching to Beige for a creamier hue or Silver for a satiny tone. Only mix with a No Lift Developer.


