Last year I spoke about how I am insatiable when it comes to Colouring and am a firm believer in seasonal Colouring. Like clockwork, as soon as the October long weekend was over I had that same familiar feeling come over me, whispering that it was time for a change. And I listened. And so began my one millionth Hair transition.
My Hair history
This time last year, I traveled on a Hair journey taking me from the depths of 5.53 Chocolate Brown up to a soft, Highlighted Blonde thanks to Colour Remover and 902 Extra Light Beige Blonde.
I continued to maintain my Hair with a blend of 8.2 Light Beige Blonde and 7 Medium Blonde at the base that acted as a 2-in-1 as I throw a lot of Warmth and need to keep up with my Toning.
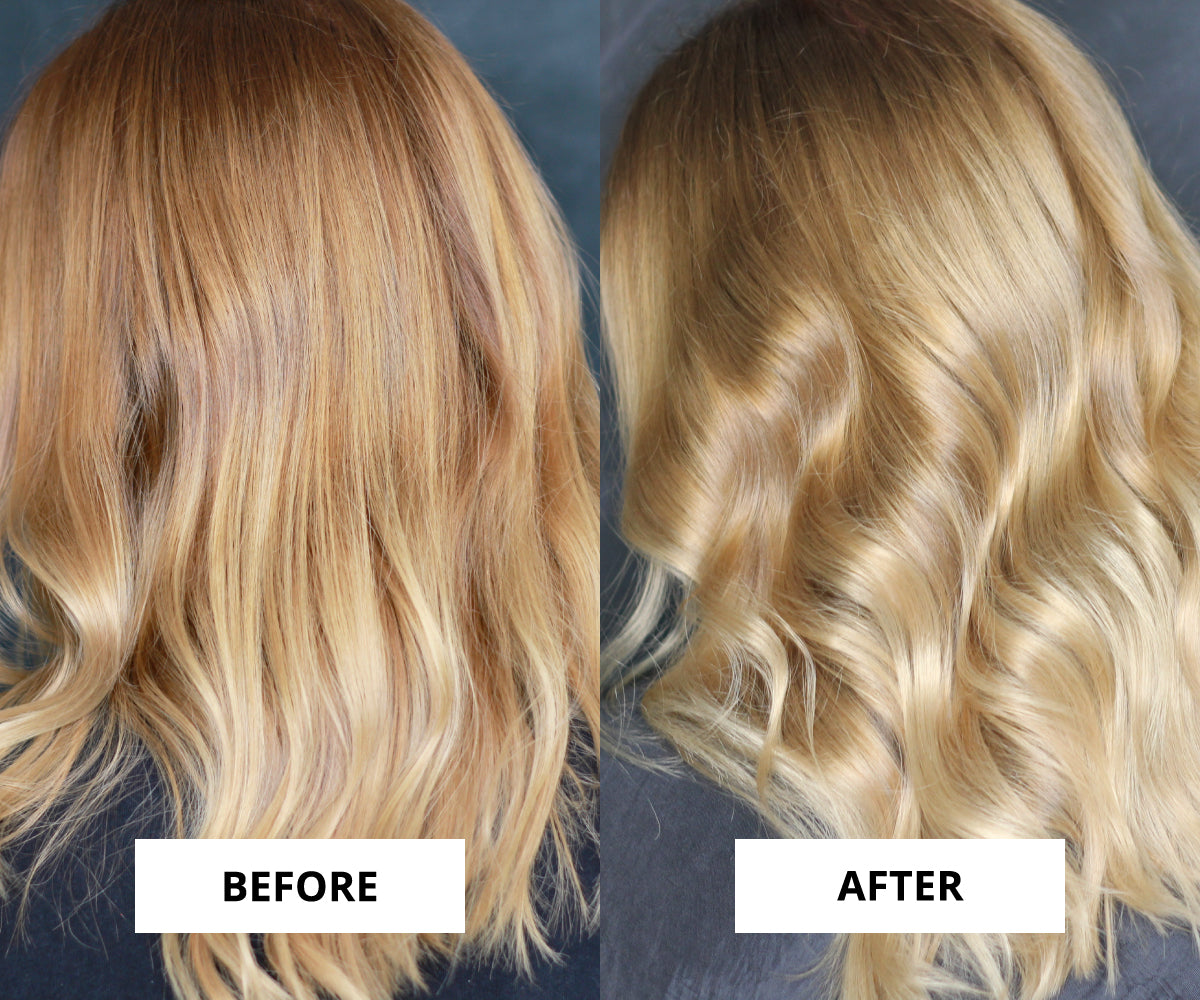
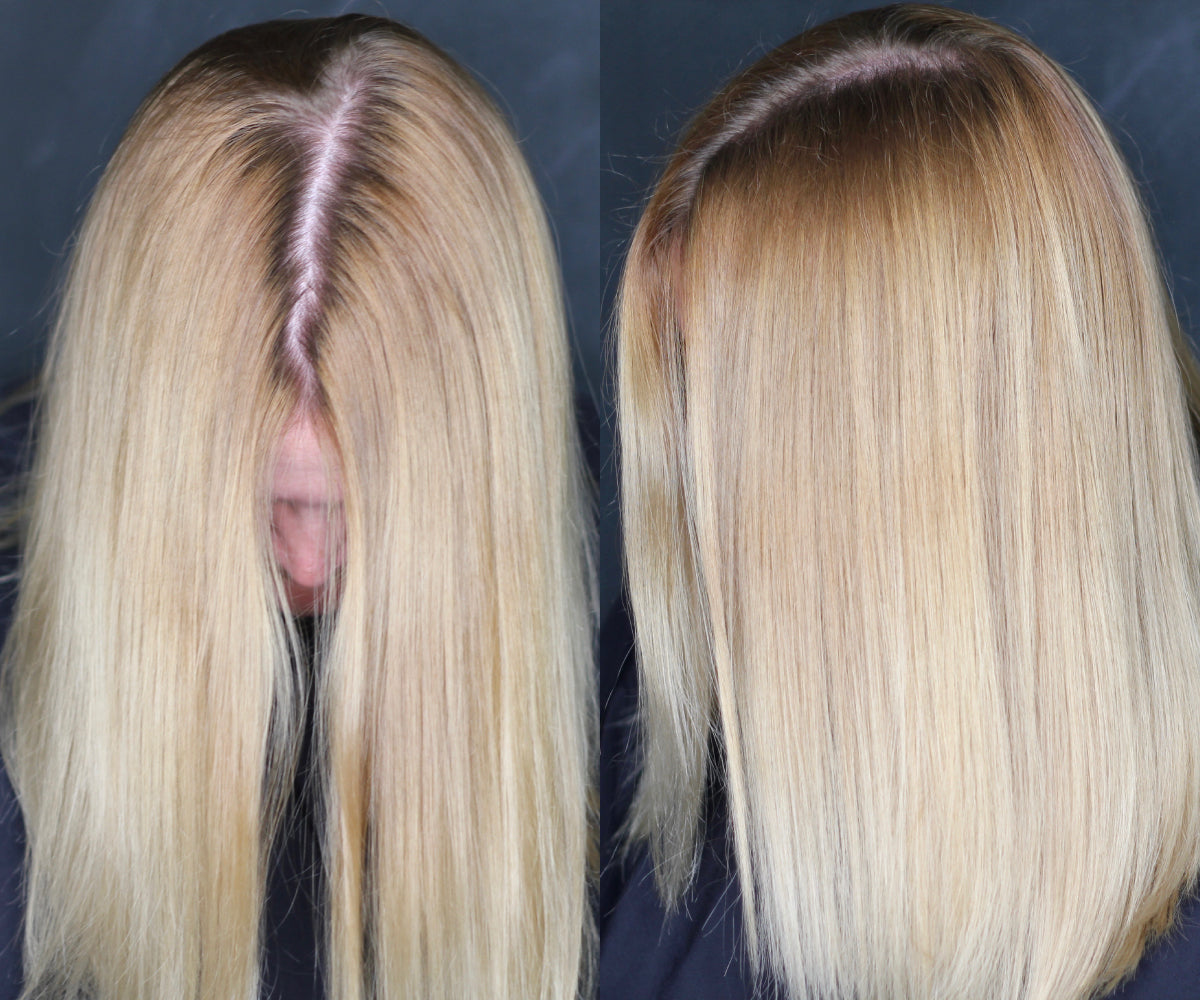
Over the cooler months I wanted to add some depth into my roots, so I swapped 8.2 to 6.2 Dark Beige Blonde for a stronger contrast between my roots and ends. (See my before picture above.)
Now I want to Lighten my roots and reinvigorate my ends by freshening up the Colour and painting in some new Highlights. I am a lazy Colourer who’s Hair grows quickly, so I want to stick with Darker roots and Lighter ends because it's just so easy to maintain.
Step 1. Colour Remove
I need to clean out my 6.2 Dark Beige Blonde and 7 Medium Blonde Colour mix to make room for my Lighter Colour. During my first Colour Removing session, I put it over my entire head - even my ends. I know they’re Light, but I have Coloured and Toned them a lot and thought they would benefit from cleaning out some build up so I can start fresh.
My second Colour Remover session was focused on my roots area where I had been Colouring with the Darker Colour. This second Colour Remover worked a treat and got rid of everything I didn't need.

Step 2. Highlights
Highlight mix: 10.2 Very Light Beige Blonde and 30 Volume Developer.
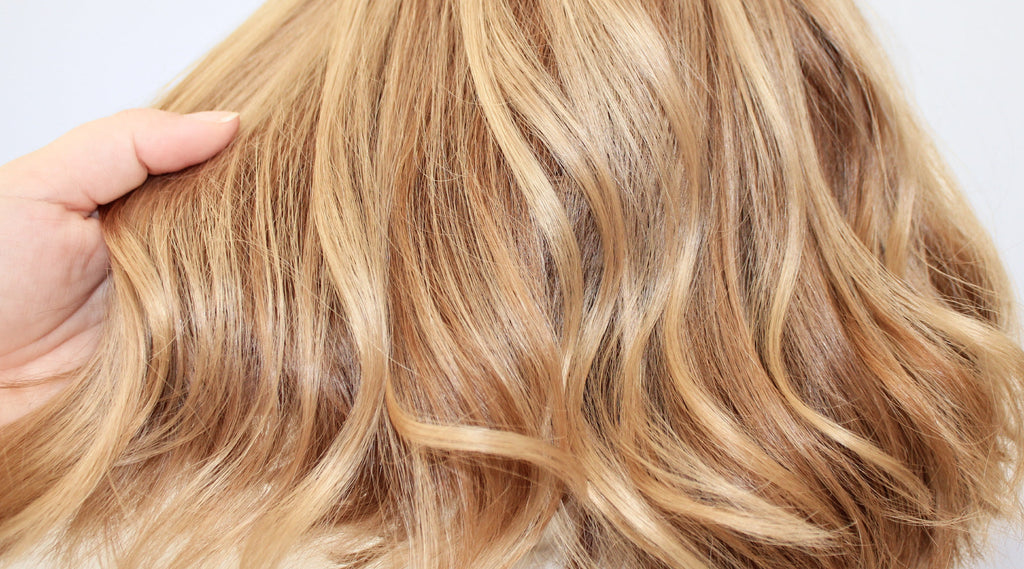
I love Highlights when they have been painted in freehand with no structure through the Hair. To me, they look super Natural, like you’ve just been personally kissed by the sun.

Using a Tint Brush turned on the side, we painted Highlights throughout my Hair. I needed some Highlights to start higher up my Hair as my last ones had grown out. We wrapped each Highlight in foil and processed for 40 minutes.
(I got help during this stage because Highlights are not my strong suit.)
Step 3. Base Colour and Tone
Base Colour mix: 8.2 Light Beige Blonde and 20 Volume Developer.
Toning mix: 10.2 Very Light Beige Blonde and No Lift Developer.
I am Naturally a 7 Medium Blonde and I only want to Lighten to a level 8. I’ve chosen Beige to help soften any Warmth from my Colour Remover in my roots. My Colour is applied on my roots quite casually, staggering where the Colour ends for a smooth Colour transition between the Darker roots and Light Ends.
During the last 10 minutes of processing, I used the Toning mix through the rest of my Hair to Tone. I’ve chosen Beige because it’s softer than Ash which also doesn’t suit me.
Note: I did this over a couple of days to let the Colour Remover settle.
*ta da* the finished Product.


