
We have told you all about the magic of Highlights and the incredible things they can add to your Hair. But it’s important to not forget Highlights forgotten cousin, Lowlights. Lowlights are the unspoken family member, which is madness. They are just as magical and can do some really amazing things for your Colour. Let’s discuss.
What are Lowlights?
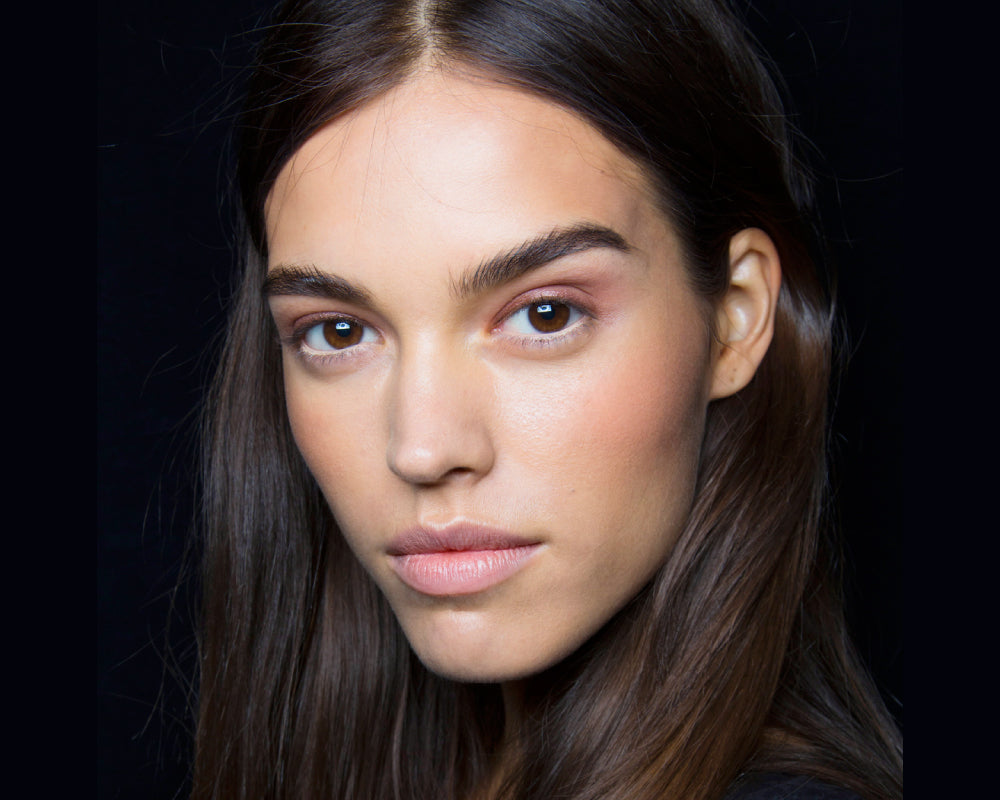
Lowlights are shades, or streaks, of Hair that are no more than 2 shades darker than the rest of the Hair. They are the exact opposite to Highlights, as they are far less dramatic.
Why do you have them?
Lowlights are fantastic. They bring dimension, by adding depth and volume to a Hair Colour.
Use them to soften a High Lift or bring down an overly Light Hair Colour. They are also a fantastic way to bring life back into Hair after excessive highlighting.
We like to use them to soften an ombre or break up warmth in un Toned Hair.
Try Lowlights through Natural virgin Hair to add Volume and dimension.
Use Lowlights to soften a stark regrowth line or when transitioning Colours.
What are the keys to Lowlights?
Keep them small, no larger than 1/4cm. Don’t “stack” them on top of each other.
Choose a Colour no more than 2 shades darker than the rest of the Hair.
Lowlights are meant to be Natural looking, they are not supposed to stand out. The aim is to be subtle, use less than you would highlights.
You do not need to do them every time your Colour.
Be conservative with your Low Light Colour choice, don’t choose anything too extreme from your Natural Hair Colour.
You can use them with Highlights. If so, use a ratio of 80% Highlights and 20% Lowlights.
Use them on both Light and Dark Hair Colours.
Application
Keep Lowlights 1-2 inches from your face.
When applying your Colour simply get your tint brush and turn it to the smaller side, for a more detailed application.
At the top of the Lowlight, closest to the Hairline, apply your Colour in a lighter, feathered manner, to help the grow out process stop being so harsh and flat.
If you are doing your Hair alone, and are struggling with the application at the back of your head, pull small pieces of Hair out and dip your index and thumb fingers in Colour. Starting at the top of the Hair, press your fingers together and pull the Colour through to the ends.


