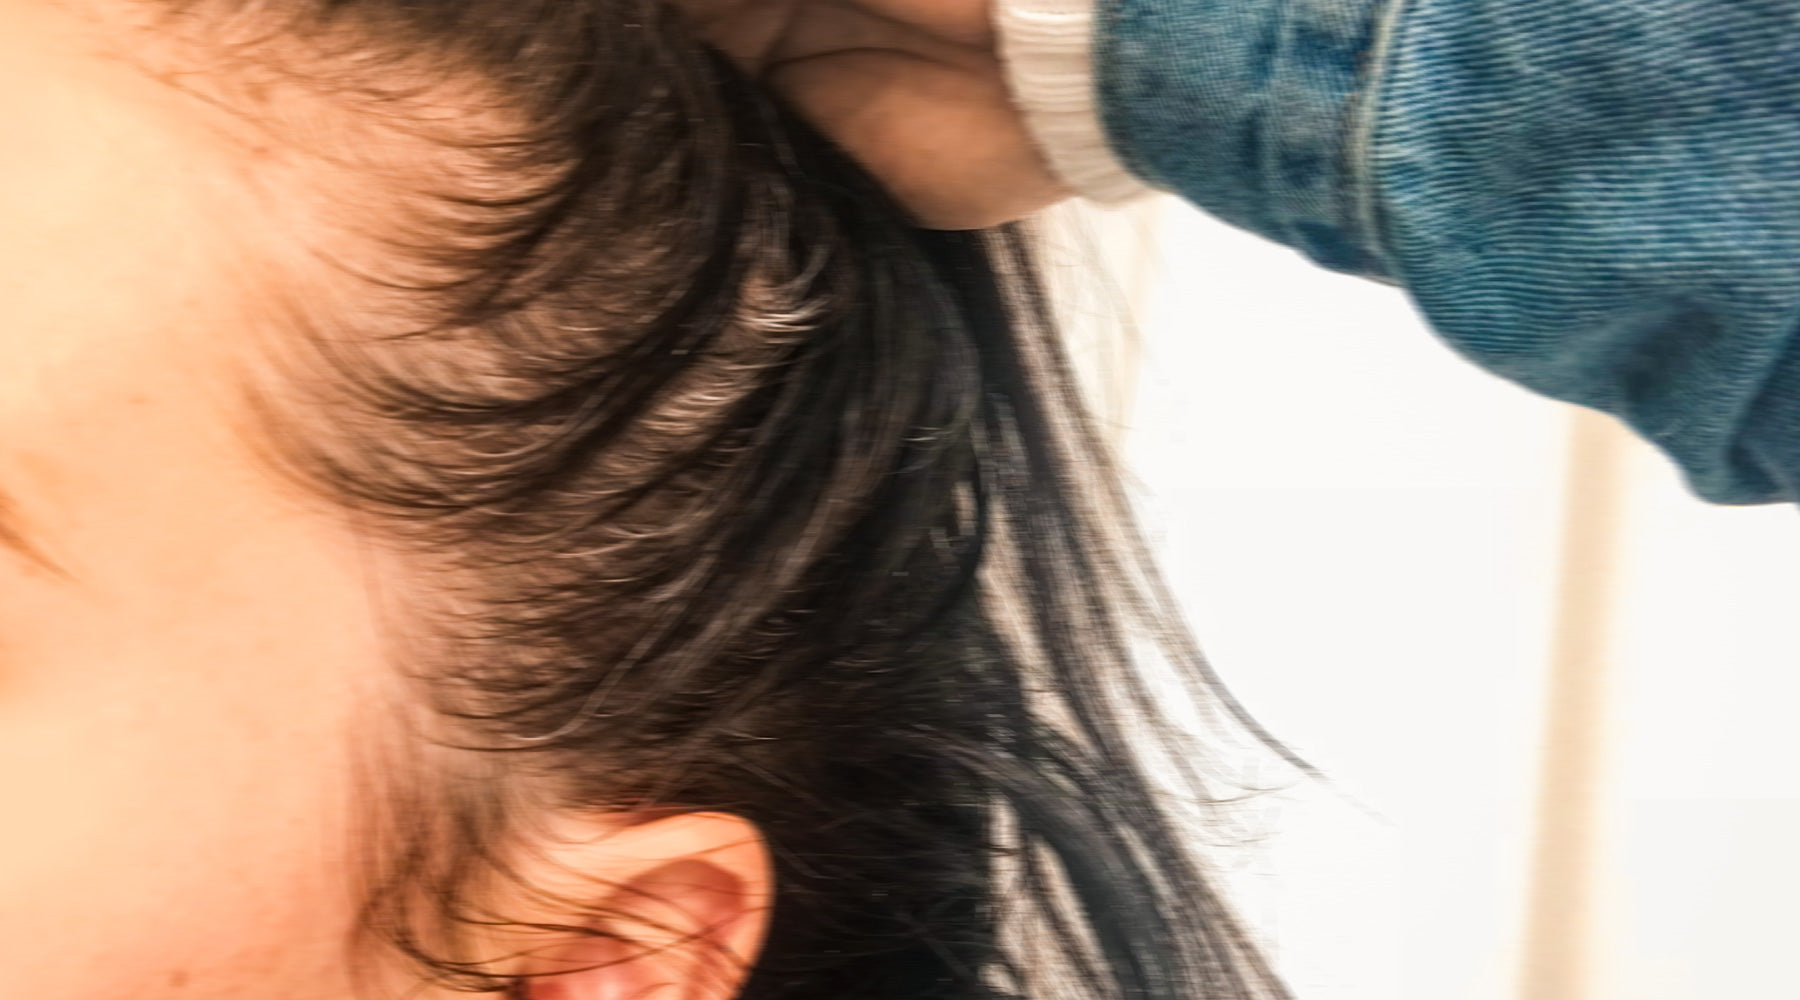
So… the day has come. You’re getting ready, running your fingers through your Hair, and there it is — a little flash of silver staring right back at you. Maybe it’s one. Maybe it’s a few. Maybe you’ve noticed they’re multiplying faster than you can pretend they aren’t there.
You let out a sigh (because same). And while we fully support embracing your sparkle, we also know sometimes you just want them gone. Not plucked. Not hidden under a hat. Covered — beautifully, naturally, and properly.
Here’s the good news: Grey Hair doesn’t have to be a big, stressful thing. With a few small tweaks to your at-home Colour routine, you’ll be back to glossy, fresh-looking Hair in no time.
First Things First: Permanent Hair Colour Is Your New Best Friend
Temporary Colours, semi-permanents, and rinses just won’t cut it anymore. They glide over your Hair, and Grey Hair — which tends to be more resistant — needs Colour to soak in and stick.
If you’re serious about covering Greys, switch to a Permanent Hair Colour. It’s long-lasting, consistent, and gives you the depth and coverage you’re looking for.
Know Your Grey Percentage
Take a moment to check in: how much Grey are we really talking about? If you’re seeing 50% or more (that’s 5 out of every 10 strands), it’s time to get strategic with your Colour choices. The more Greys you have, the more important it is to choose Shades that offer full coverage, flatter your skin tone, and blend effortlessly into your natural Colour.
Meet Your New Ride-Or-Die: 20 Volume Developer
Colouring gets simpler when Greys show up. Once you’ve hit the 50% Grey mark, 20 Volume Developer is all you need. It’s gentle, effective, and made specifically for covering white and Grey Hair — which, by the way, doesn’t need lightening anymore because it has zero pigment. Stick with 20 Volume Developer for the best, most reliable results.

20 Volume
Developer
Naturals = Full Coverage + Shine
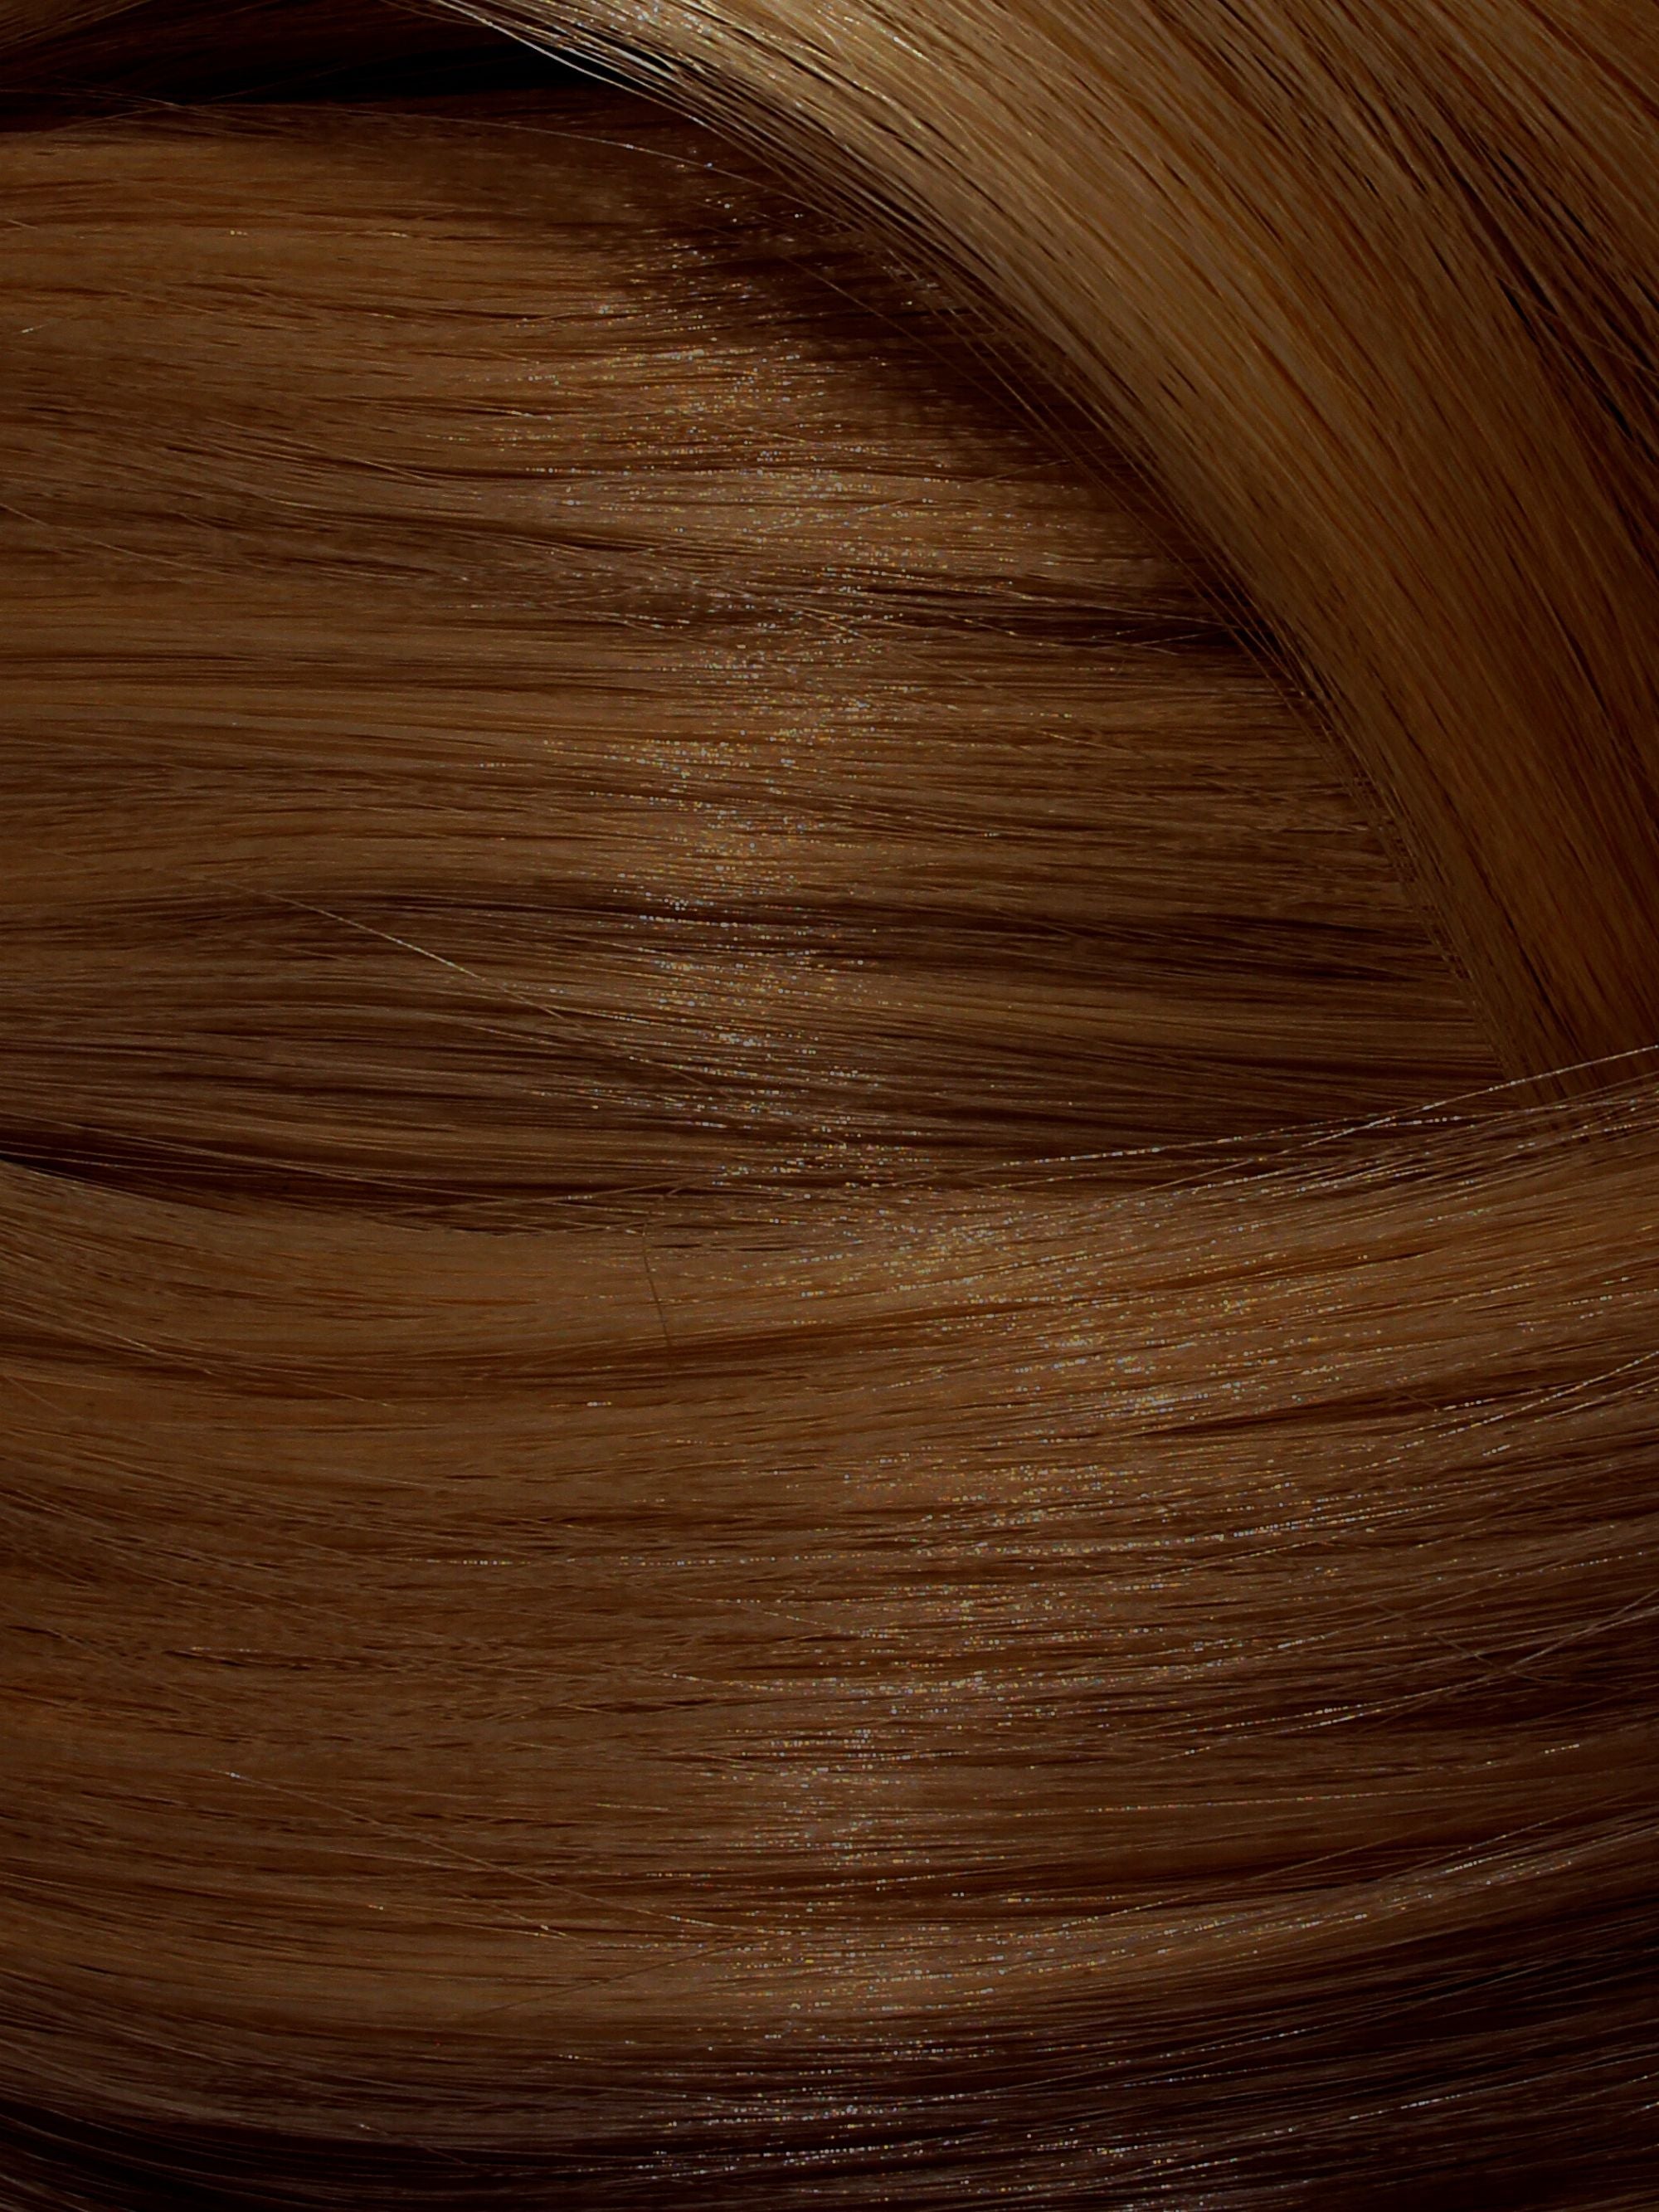
Our Natural Shades are specially formulated with rich, full pigments designed to tackle even the most stubborn Greys. They don’t just cover — they leave your Hair glossy, dimensional, and healthy-looking.


Coloured Greys Can Be Lighter
If you’ve ever noticed that Colour over your Greys looks a little lighter than expected — you’re not imagining it. Grey and White Hairs are missing pigment, so when you apply Colour, the result can appear more translucent or slightly washed out compared to the rest of your Hair.
This is especially true for Light Blondes. If you’re struggling to get your Blonde to grab onto those stubborn Greys, what you’re really missing is depth. Try shifting your Shade a level or two deeper — say from a 9 Very Light Blonde to an 8 Light Blonde. That extra depth helps anchor the Colour, giving you better coverage and a richer, more even Blonde overall.
When Greys Won’t Budge, Baby — Go Golden
Grey and white Hairs are often harder to Colour — especially if they’re around your Hairline. That’s where Golden Hair Colour Shades come in.
Gold tones grip those stubborn strands better than Ash or Beige tones alone, helping the Colour build more effectively.
Pro tip: You don’t need to go fully Golden. Try mixing ¼ to ½ of a Gold Shade with your usual Natural Colour. It won’t look overly Warm — it’ll just help give the Colour more depth and help those Greys actually hold on to the pigment.


Time For A “Ditch And Switch”
If your regrowth line is starting to look a little… intense, it might be time to reassess your Shade. Dark, dramatic Colours (especially if you’re covering a lot of Greys) can leave a stark contrast when your roots come in. Instead, consider softening your overall Shade.

Deep Brunettes can switch to a Medium or Light Brown.

Bright Blondes might need to shift from 9 Very Light Blonde to an 8 Light Blonde or 7 Medium Blonde — which still looks bright, but gives better Grey coverage and depth.

Intense Reds can move to Warmer Golden or Copper Tones, which offer better longevity and grow out more subtly.
The ditch and switch isn’t just about maintenance — it can completely refresh your look and take years of harsh shadowing off your complexion.
Tweak Your Timing
Once your Greys become a little more stubborn (especially those patches around the temples and part line), it’s time to give them extra love.
Here’s how: Apply Colour to your Greys first and let them sit longer before pulling the Colour through the rest. Leave your Colour on for 40–45 minutes. Greys need that extra processing time to really soak up the pigment.
Grey Hair isn’t the enemy. It’s a natural part of life — and yes, it’s a little annoying at first. But with the right Colour, the right Developer, and a few smart switches, you can cover Greys like a pro. And hey — think of this as your new era. You're not just covering Greys. You're levelling up your Hair game. And if you need any help, chat to our Colour Consultant team.


