When I think party, I think woah, what am I going to wear? Then think, woah, what about my shoes. Then quickly come to the woah, my Hair, followed by a hurried flick through my moleskin to check if it lands on Friday, Saturday or Sunday. With the silly season, comes a lot of mid week festivities, which encourages the quick run around at 5:30 screaming I have nothing to wear, while still carrying the ugh of the day. So I thought now was as gooder time than ever to plan out a few key Hairstyles I will keep on rotate, to get me through the holidays, particularly those week night functions that leave me short on time.
Did I mention I also included a Step By Step Guide for each Hairstyle?
Your welcome.


The High Bun
A High Bun is a fab choice because it's so versatile and suitable for so many occasions. Keep it casual with a loose touch, like Kate or try it sleek and smooth, like Cara, for a smart looking Hair 'do. Plus its a great option for any party after work scenario, as a perfect transitional day - to - night hairstyle.
How To: The Sleek High Bun
Step 1:
Apply a heat protective serum to keep fly aways under control, straighten your Hair.
Step 2:
Using a soft bristle brush, pull your Hair back into a tight High Ponytail. Make sure the tightness and height are comfortable.
Step 3:
Twist your Hair into a bun and secure with a Hair tie. Hide your ends under your Hair tie, or use spare bobby pins.
How To: The Loose High Bun
Step 1:
Using your fingers, comb a anti frizz serum through dry Hair to keep fly aways under control. For a little extra Volume or wave, use a Salt Spray and lightly apply while using your hands to scrunch it through your Hair.
Step 2:
Pull your Hair back loosely into a High Ponytail.
Step 3:
Twist your Hair loosely into a bun, and secure with a Hair tie. Hide your ends under your Hair tie, or use spare bobby pins.
Step 4:
Based on your taste, pull out pieces of Hair, to frame your face.


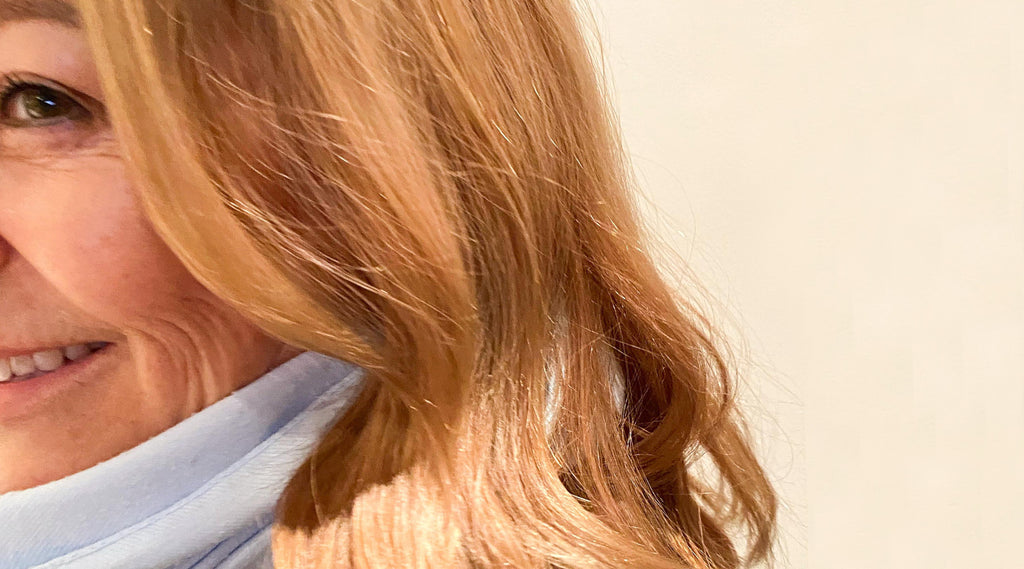
Waves
Beachy, tousled waves are a favourite of ours because of their simplicity and that fantastic volume makes our eyes gleam. They are an excellent choice for long and short Hair, and a beautiful way to showcase your Colour. Plus they are another great day - to - night hairstyle, suitable for the office and party.
How To: Waves
Step 1:
Begin with freshly washed Hair. Using your hands, comb a volumising spray through your Hair.
Step 2:
Continue to use your hands as a comb, and blow dry your Hair until you remove majority of the moisture.
Step 3:
Dissect your Hair into 3 sections - a right section, top section and left section. Using a medium sized round brush, continue to blow dry your Hair, starting at your top section. Once blowdried, wrap your Hair around three fingers to create a pin curl. Secure with a clip and leave to cool. Continue the same on your remaining 2 sections.
Step 4:
Once cooled, remove clips and use a curling iron, to curl your right and left Hair sections - do one section at a time. Face your curling iron down, and curl your Hair around it. If possible, also twist your Hair while curling, for an added affect.
Step 5:
Un clip your top section, and with your fingers, comb back the Hair and push lightly forward to discover your natural part. Once you have found your part, curl your top section.
Step 6:
Lastly, flip your head upside down, do a light application of Hairspray to hold the curls, shake your Hair and flip your head back up, to reveal your fabulous Hair!


Sleek Ponytail
Ahh the sleek Pony, a beautiful, timeless Hairstyle that should be apart of every girls hair-cabulary. What’s not to love? It is the ultimate in sophistication, can be taken from the red carpet to a raucous party, while still maintaining that elegance. The Pony is so adaptable - try it low or high, with a centre or side part or pulled back for a chic hairstyle. We have focused on two staple variations: The Low Parted Ponytail and High Pulled Back Ponytail.
How To: The High Pulled Back Ponytail
Step 1:
Apply a heat protective serum to keep fly aways under control. Straighten your Hair until it is perfectly straight.
Step 2:
From one ear to the other, divide your Hair into two sections, so you have a front and back. Secure your front section with a clip.
Step 3:
Using a soft bristle brush, tie your back section in a Pony tail. Keep your Pony high - eye level or higher.
Step 4:
Unclip your top section, and lightly apply a volumising serum to your roots, combing it through with your fingers.
Step 5:
Pull your Hair back, to join your other Pony using another elastic. Take a small section of Hair from the bottom of your Ponytail and wrap around your elastic. Secure with a bobby pin at the bottom of your Ponytail.
How To: The Low Parted Ponytail Ponytail
Step 1:
Apply a heat protective serum to keep fly aways under control. Straighten your Hair until it is perfectly straight.
Step 2:
Using a comb, create a strong part in your Hair. It can be a centre or side part.
Step 3:
For a slick Pony, use a fine tooth comb and a decent Hair gel to comb back your Hair into low Pony at the nape of your neck. For something a little softer, skip the gel and just use the fine tooth comb to pull your Hair back.
Step 4:
Take a small section of Hair from the bottom of your Ponytail and wrap around your elastic. Secure with a bobby pin at the bottom of your Ponytail.


Braids
We L-O-V-E braids in the My Hairdresser office. They are our favourite "go to" for office days, dinners, parties, for everything! You can dress them up, dress them down and who doesn't love the cute curl you're left with once you take them out?! There are a wide variety of braids to choose from, so we narrowed it down to our two favourite styles: the Top and Low Braid.
The Top Braid
Top Braids are easily the most popular choice in our office because of the beautiful combination of strength and softness in a charming feminine up-do. They are a great option for our short Haired friends, who can gather their shorter strands to be included in the braids.
How To: The Top Braid
Step 1:
Section your Hair into quarters. Pull your Hair back to see how your Hair best lays against your head. This will be the direction you should braid it.
Step 2:
Starting a few centimetres back from your hairline, braid each side back. Secure with a Hair elastic.
Step 3:
Cross your braids at the back of your head. Tuck the ends under to form a Hair “wreath”. Secure ends with bobby pins. You can also try another variation, by twisting your Hair into a bun.
Step 4:
Do a quick application of hairspray to control fly aways.


The Low Braid
Generally reserved for long Hair, the low braid is a little trickier to achieve, but is well worth the effort! It is a fabulous choice for formal or casual affair, it has such a feminine flair with a powerful edge, mixed with all that Volume that will leave them envious.
How To: The Low Braid
Step 1:
Using your fingers, comb a volumising Product through your dry Hair. Curl all your Hair with a large curling iron.
Step 2:
Gather your Hair behind the ear you want your braid to fall.
Step 3:
Loosely braid your Hair towards the nape of your neck, and over the shoulder you want it to fall. You can use a traditional braid or a fish braid. Use a clear Hair elastic to finish.
Step 4:
Your braid should not be immaculate. Lightly pull your braid slightly apart, without pulling it completely out, to give it volume. Remove a few pieces of Hair at the front of your face to create an imperfect look.
Step 5:
Do a quick application of hairspray to control fly aways.