Our Hair puts up with a lot during Summer and unless you are extremely disciplined, sticking to a regime to protect your Hair from the sun and salt is nearly impossible nor is it a guarantee your Hair won’t be a casualty from the nasty brassies and co. And when that Summer sun starts making way for the crisper, Autumn mornings it becomes evident, and unavoidable, that your sad, brassy Blonde requires some help.
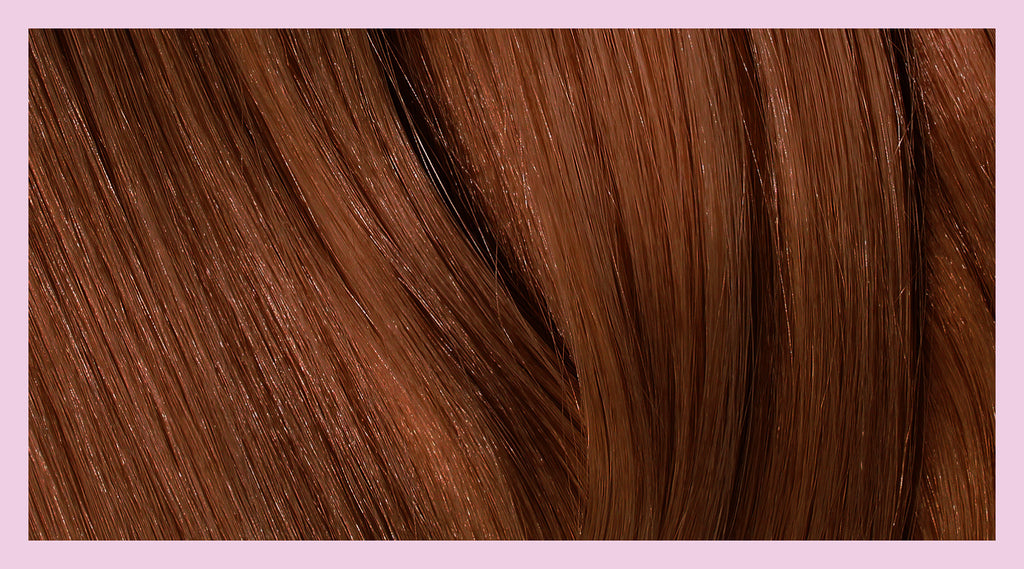
But, did you know that worn-out Summer Blonde is the perfect base to create a Dark Blonde or Brunette with a subtle balayage or to easily add Highlights without doing any extra work? Yes indeed now is the perfect time to inject some depth and dimension and completely transform your Hair Colour. Keep reading as we show you how to do it.
Select your Shade
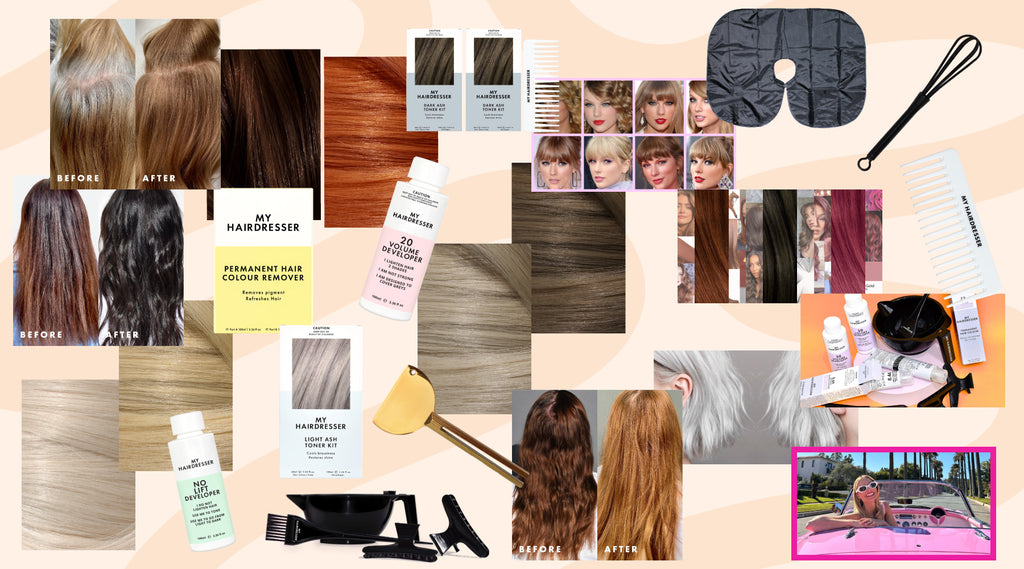
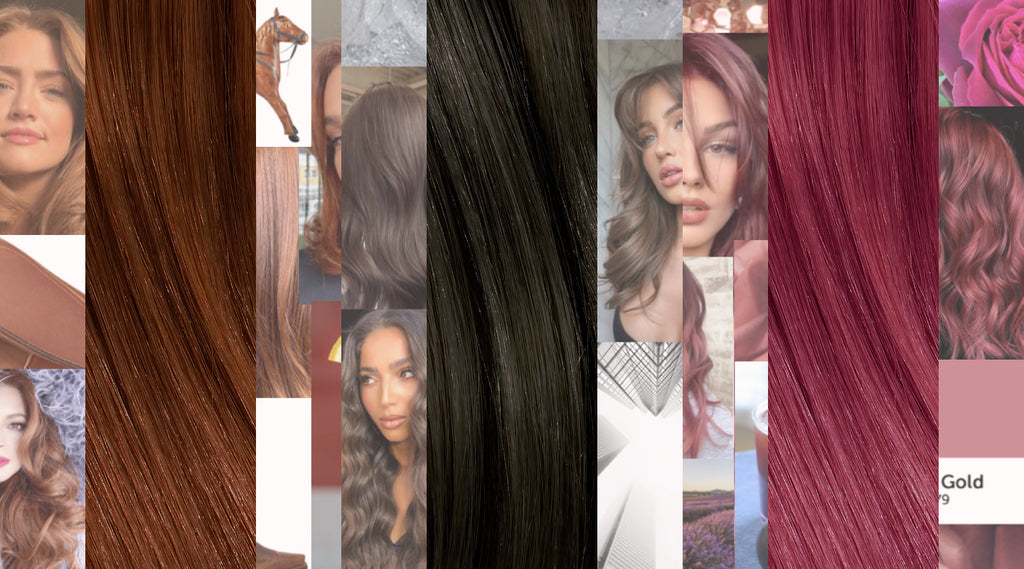
Choose the Colour you want you to be. We recommend keeping your Hair Colour between 5 Light Brown and 7 Medium Blonde lightness, choosing whatever pigment/reflect you like, but these 6 Shades truly work a treat.


Tip: You can mix 2 Hair Colours to fulfil your Colour desires.
Select your Developer
Use a No Lift Developer if the Hair Colour you have chosen is Darker than your Natural Shade.
Use a 20 Volume Developer if your Hair Colour is 1-2 Shades Lighter than your Natural or if you have 50% or more Greys.
Pre Colour
Before Colouring, it is important to establish whether you need a Hair Colour Filler. Don’t disregard this step. A Colour Filler puts the pigment back into your Hair that it looses when you Lighten and is only necessary with big Colour transformations.
For example: If you are Colouring your Hair more than 3 Shades Darker, you will need a Colour Filler to ensure you get an even Hair Colour. Find out more about Colour Fillers.
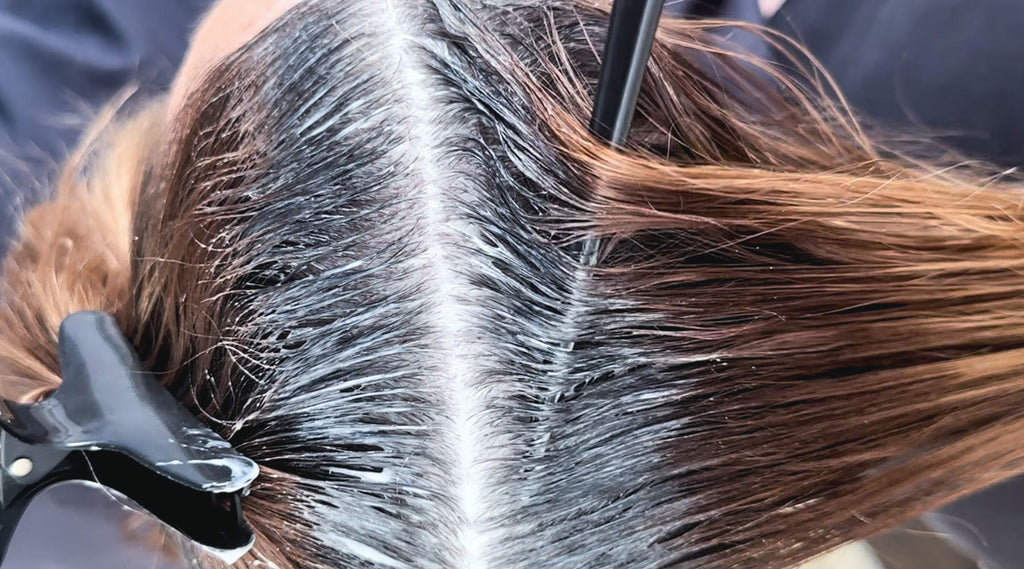
Application
Step 1
Brush and section your Hair into 4.

Step 2
For Highlights, create rows in the top 2 sections of Hair with the tip of your Tint Brush and pull out small, thin pieces of Hair to frame your face. Make sure to allow enough breathing room in between. Cover the Highlights with a light layer of conditioner.

Follow the same process through the bottom 2 sections of your Hair, leaving more space between each Highlight.
Tip: Covering your Highlights with conditioner, protects them from your Hair Colour mixture and mutes the Colour mixture when you later comb it through your Hair. If you feel your Highlights need more protection, wrap in foil.
Step 3
Mix your Colour and Developer.
Step 4
Avoiding your Highlights, apply your Colour mixture to your Hair starting at the top, tapering it down. Cover your entire head and leave your Colour to process.
Step 5
In the last 10 minutes of your processing time. If applicable remove foil from your Highlights and, using a wide-tooth comb, come your Colour through your Hair. Once you have reached Development time, rinse and shampoo your Hair.
Step 6
Live your best Hair life.
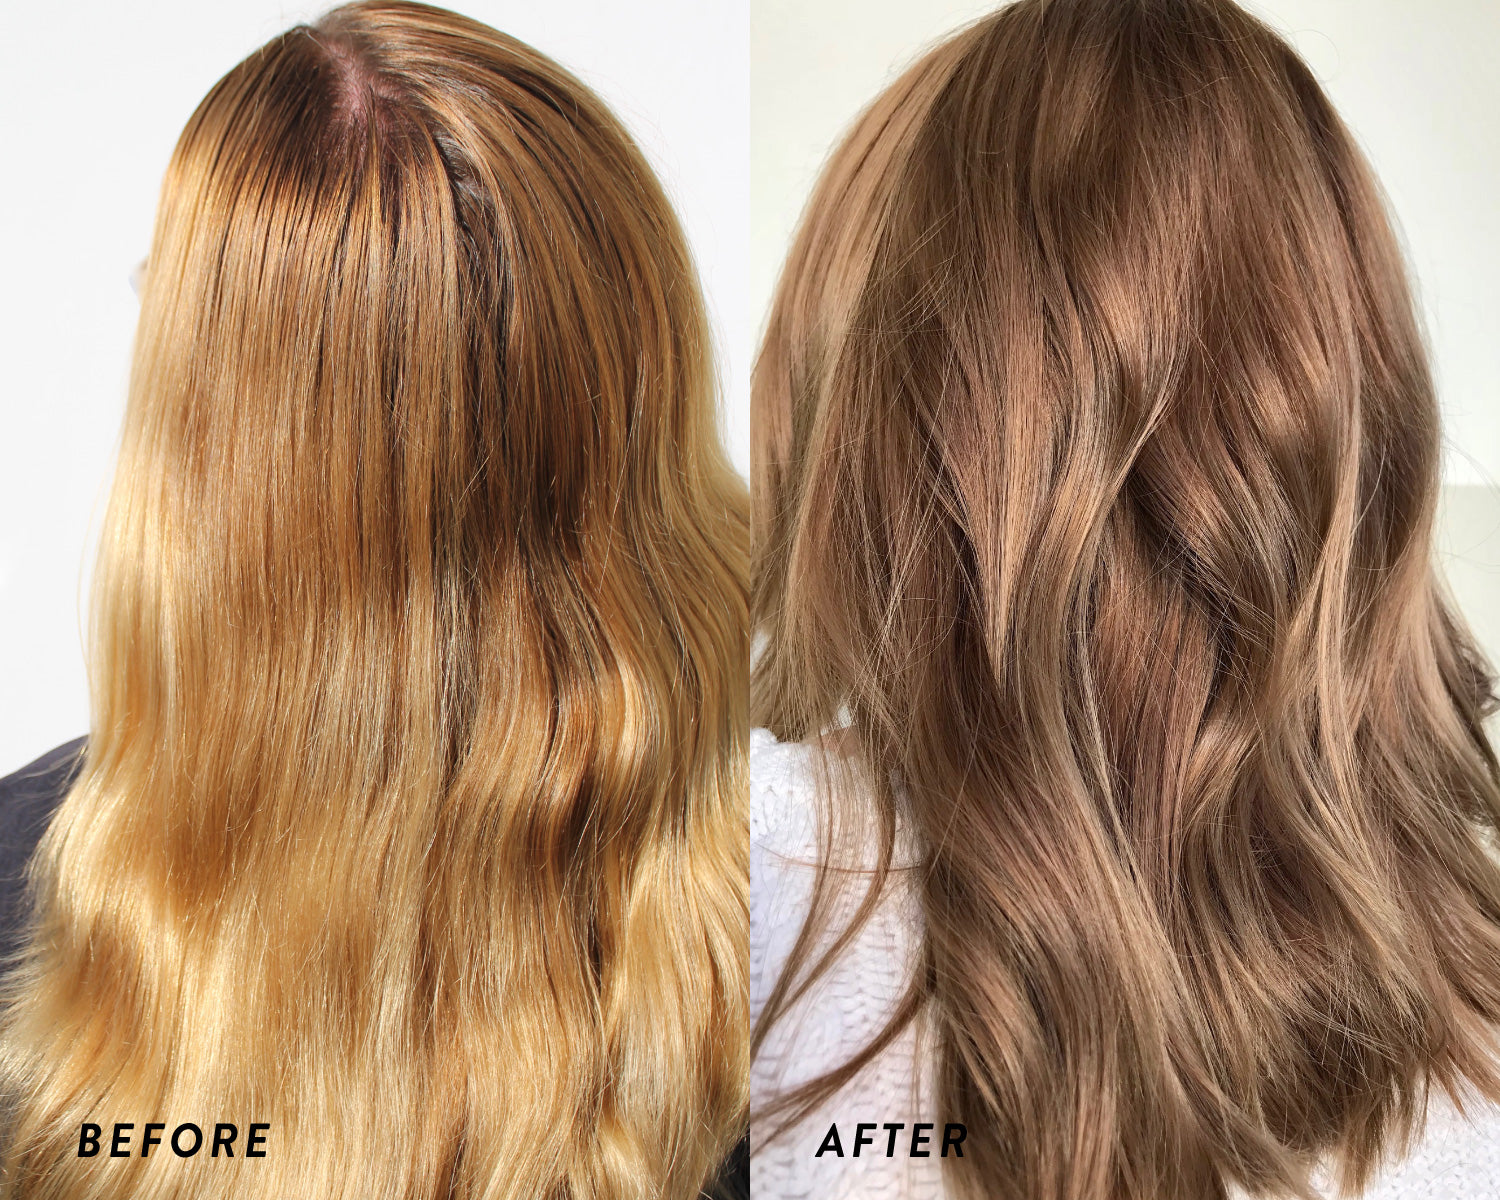
See these Bronde Before and After Transformations In Real Life

Before: Drained, tarnished Blonde with old lights.
After: Refreshed Bronde, Toned down with an Ash pigment.
Products Used: 1/2 x 7.1 Ash Blonde + 1/2 x 5 Light Brown with No Lift Developer.

Before: Summer loved Blonde, with way too much brassiness.
After: Revitalised and hydrated Hair Colour, brimming in shine.
Products Used: Salted Caramel with No Lift Developer.