It’s time to Spring into action (see what I did there) because a new season, particularly Spring, calls for a refresh. Because when else does a season evoke change such as Spring? And so, just as it is important to purge the Winter wardrobe in favour of the Spring/Summer one, we’re doing the same for our Hair.
The cold months can create havoc on our Hair, sending it into a Colour hibernation. We find it will be left feeling either abandoned — think brassy, grown out regrowth, flat Colour — or, on the other extreme, over-indulged with Colour that we’ve painted over and over again to revive the vibrancy which of course leads to the opposite — dull, heavy Hair weighed down in product.
Spring signals rebirth and we followed 3 Colour transformations, as told by the people whose heads you see featured, to show us how good a Spring transformation truly is.
Hanna. Needs a quick Colour refresh.
Natural Colour: Dark Brown
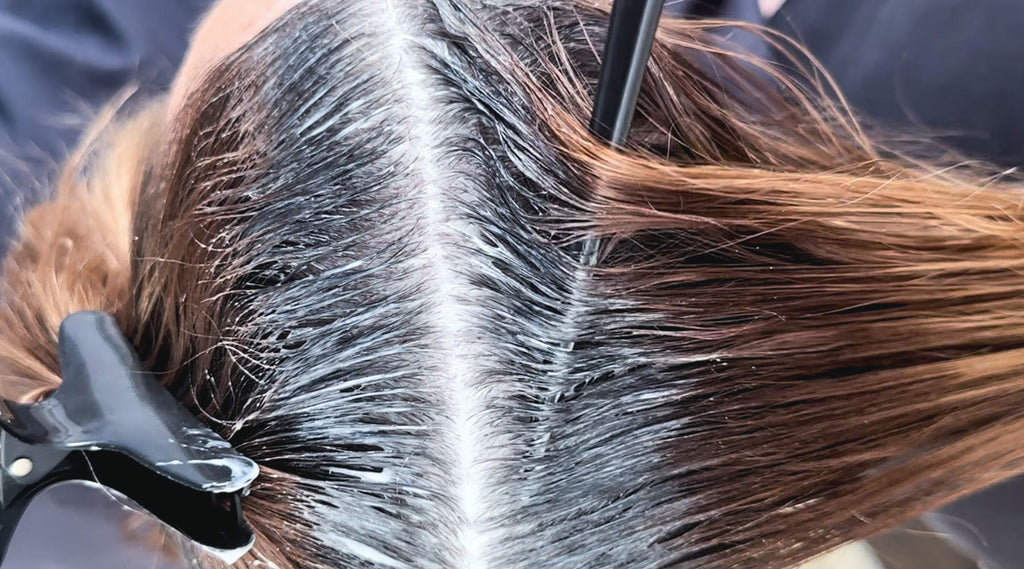
Before: I can get too friendly with the Tint Brush and unintentionally spread my Colour over and over my Hair, even though I know it will lead to Colour Build Up. And guess what? I can see and feel my Hair is weighed down in Colour and I need to get rid of it ASAP.
Step One: It’s a no brainer — I need to keep Colour Removing until I budge my Build Up right out of my Hair. Thankfully 2 Colour Removers later and I’ve done just that. I’m so relieved to be free of it and the brassiness through my ends just makes me so happy I’ve had a strong result.
Step Two: I let my Hair settle for a couple of days and then Colour it with a Natural Brunette Colour Cocktail.
After: I love nothing more than a glossy Brunette, there’s no shine quite like it.
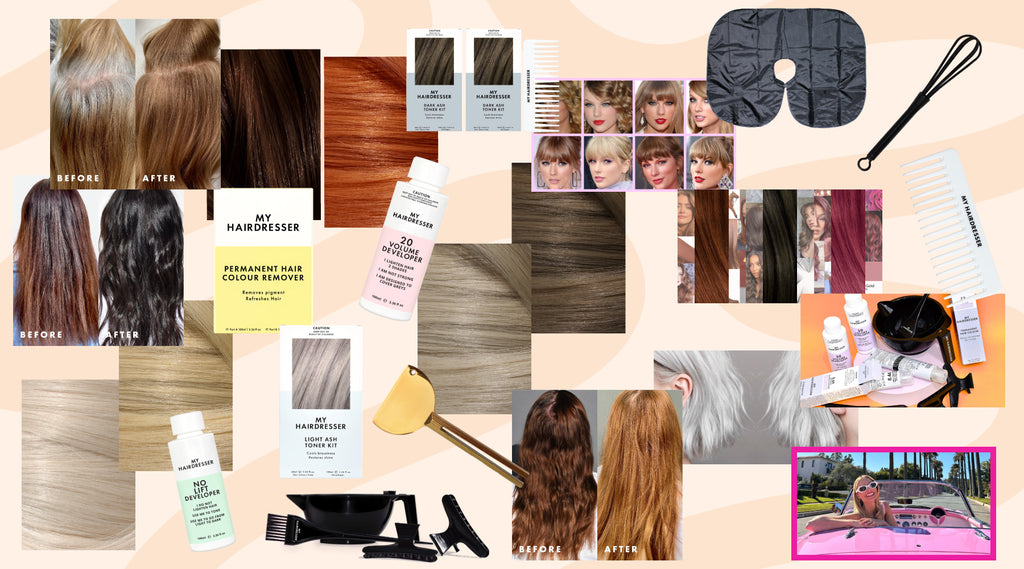
Products Used: Colour Remover, Applicator Bottle, Sectioning Clips, Natural Brunette, No Lift Developer.


Kristyn. Needs A Full Colour Spruce Up
Natural Colour: Light Brown
Before: I have gradually been going Darker and Darker Colouring with 5 Light Brown and 6 Dark Blonde over the Winter, leaving my foils to grow out. Now that it’s approaching Summer I want to Lighten up, nothing too Light, while keeping my Colour Cool because I Naturally throw a lot of Warmth.
Step One: First I needed to Colour Remove my old Dark Colour completely out. My Hair is thin, so 3/4 of a pack did trick, wrapping it in cling wrap to help accelerate the Colour Remover process. After I’ve washed it out I can see it’s worked it's magic and post blow dry my Highlights are really standing out again. I’m happy with this Lightness, I just need to fix my Warmth and even out my Colour.
Step Two: It’s time for Colour. I would normally wait 48 hours before Colouring, but I’m on a time frame so I chose 7.1 Ash Blonde and 20 Volume Developer and applied it over my Natural Regrowth. 10 minutes later I covered the rest of my Hair with the Toner Kit, that I left on for 30 minutes, to Cool out my ends.
After: Seeing my Hair, after washing all the product out, is my favourite part. I’m obsessed with my dewy Ash Blonde and how I’ve been able to include those once disgusting old foils into little flickers of Natural looking Highlights through my Hair.
Products Used: Colour Remover, 7.1 Ash Blonde, 20 Volume Developer, Toner Kit, Tint Bowl and Brush.


Lauren. Wants A Gloss and Tone.
Natural Colour: Dark Blonde
Before: My needs are simple — I need a pre Summer spruce up. My Blonde has been left to its own devices for a week or two too long and now it’s too Warm so I want to Tone it while I touch up my Regrowth. I love to multi-task.
Step One: I adore the creaminess of my Colour, when it’s creamy that is, so I’ll be keeping with my normal Beige Colour mixture (8.2 Light Beige Blonde and 20 Volume Developer) and apply it to my Regrowth.
Step Two: I use a Pearl Blonde Toner Kit over my ends for 20 minutes as a Toning / creamy Beige Blonde gloss over to Cool the Warmth through my ends and give me back my pearly Blonde sparkle I love.
After: My Colour spruce up was everything I wanted. I never get enough of Beige and how milky it looks and I’m always shocked how silky my Hair feels post Colouring.
Products Used: 8.2 Light Beige Blonde, 20 Volume Developer, Pearl Blonde Toner Kit, No Lift Developer, Tint Bowl and Brush, Applicator Bottle.