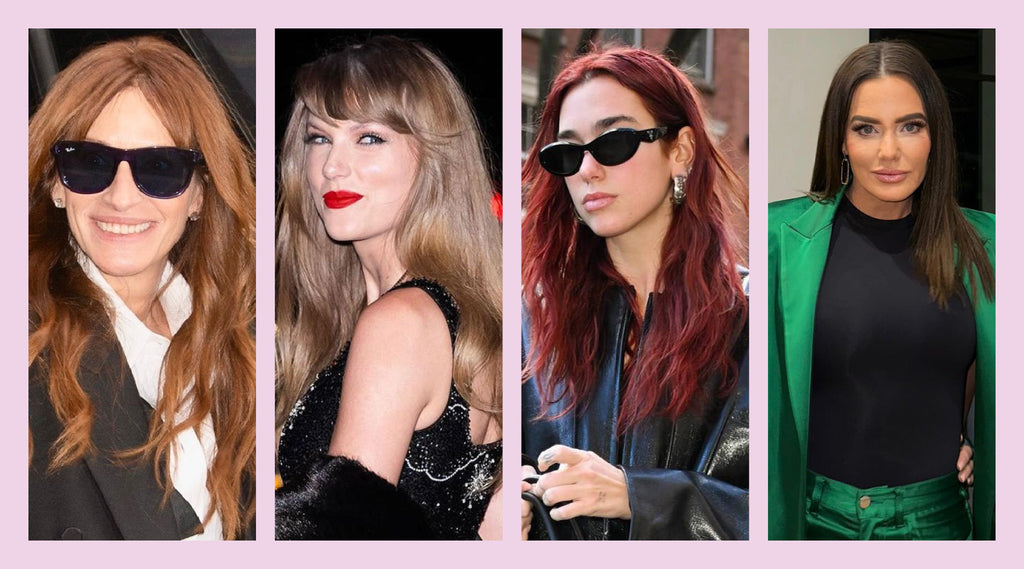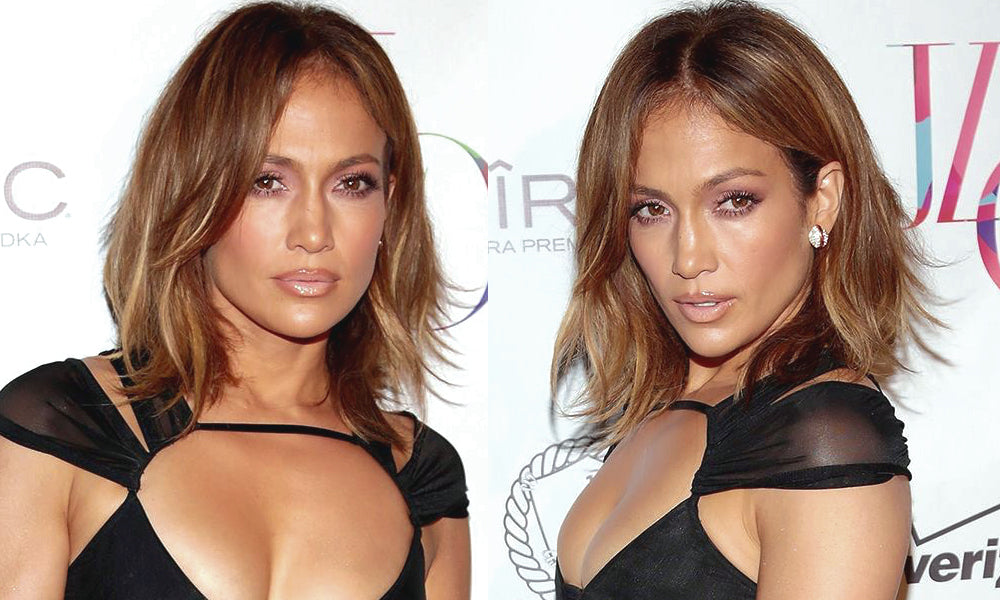

Gone are the the days you had to make the agonising choice; to be a Blonde or a Brunette. Let us welcome Bronde. Not Blonde, not Brunette but a Colour somewhere deliciously in the middle. Bronde takes the richness from a Brunette and the lightness of a Blonde to create an understated, Natural looking, sun-kissed Hair Colour.


Brondes are versatile and suit most colourings, most Hair lengths and is a beautiful, complimentary choice when getting older because of its softness. With Brondes it is not about extremes or a complete change, rather creating a subtle, Natural Colour that enhances and highlights your features.It’s a great choice for Brunettes who want to lift their Colour, but not be a Platinum, adding some lightness to your Colour while still having warmth. For the Blondes, it is ideal to add some depth and dimension to your Colour, while maintaining a Natural Colour effect.


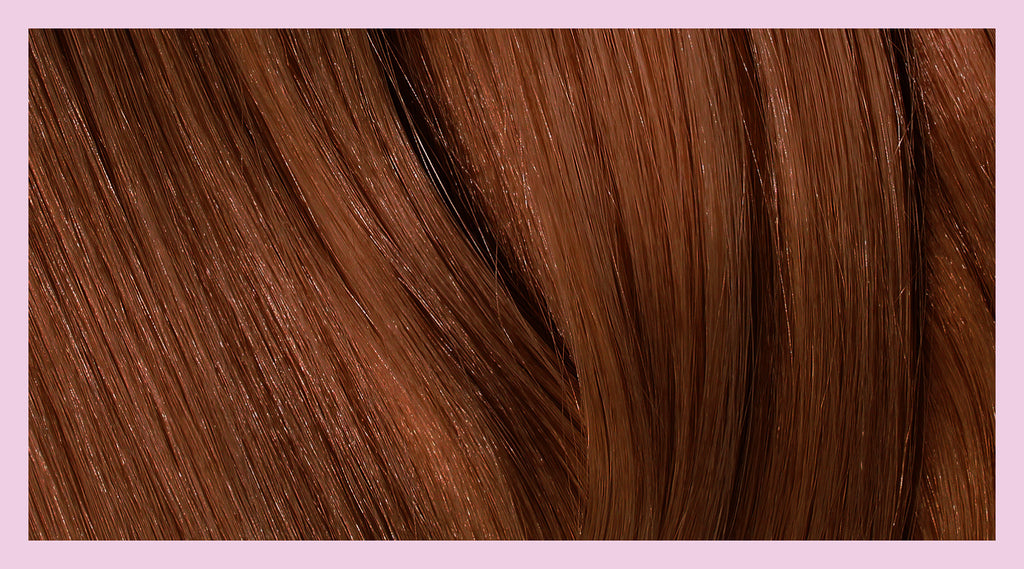
The key to the perfect Bronde is all in the Colour choice; its about warmth. Choose Golden or Bronze Colours for a Natural looking Colour, to compliment your skin tone.


How to achieve the full Bronde effect at home.
Think of Bronde as an updated Ombré, except the two Colour shades are far more subtle and Natural looking. The roots hold your darker Colour that then gradually leads to lighter ends. The trick when Colouring Brondes is to not be heavy handed, you want to create a Natural looking gradient, not banding.
Step 1
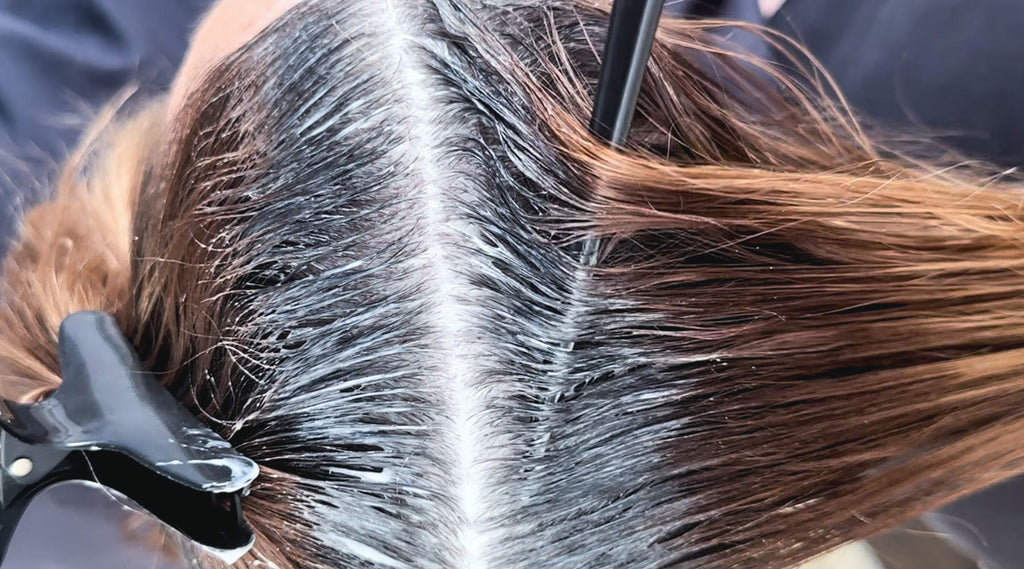
Using a Lighter Hair Colour, start your highlights around your cheekbones, painting them on at different heights, rather than all at one line, keeping each highlight narrow not thick. Take the Colour to the ends.
Consider where you want to place your highlights. A lot of people keep them around the face to help frame it. Don't apply this Colour too heavily, remember it is about being subtle.


Step 2
This step can be done same day or next day. Once you have processed your Colour, washed it out and dried your Hair, you can begin with your darker Colour. Starting from the back of the head, apply your Colour to the roots bringing it down to around the top of your highlights. Once you have covered your root area, bring the Colour through the remaining of your Hair, finishing at the ends. Start your processing time from when you have finished your root area.